Wednesday, April 27, 2011

it's coming....


The all time first TWAG blog hop! Mark your calendars for May 1st to hop hop hop along our trail. You will have a chance to win fabulous prizes at each stop along the way. And one mega prize created by some of our wonderful artists!

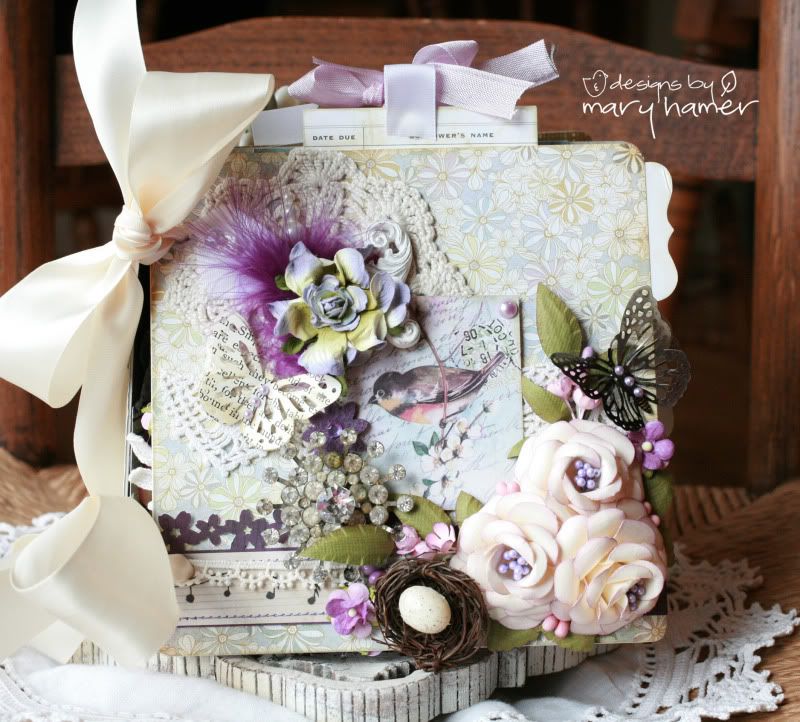
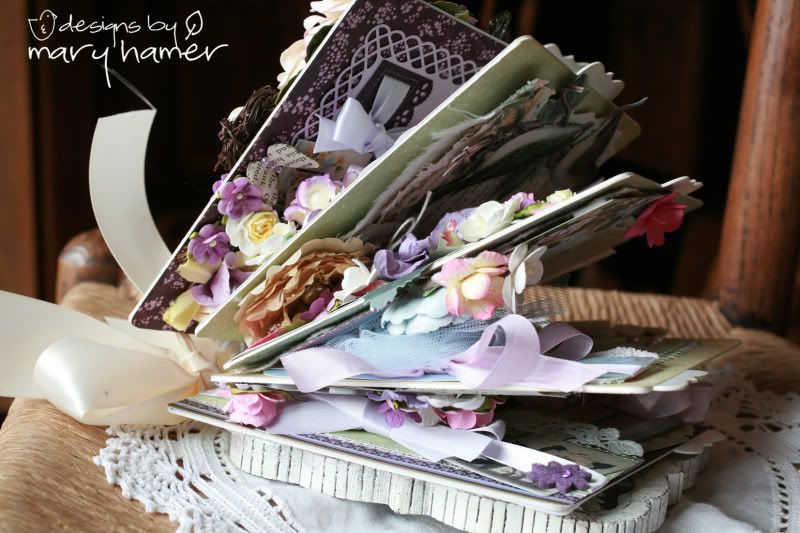
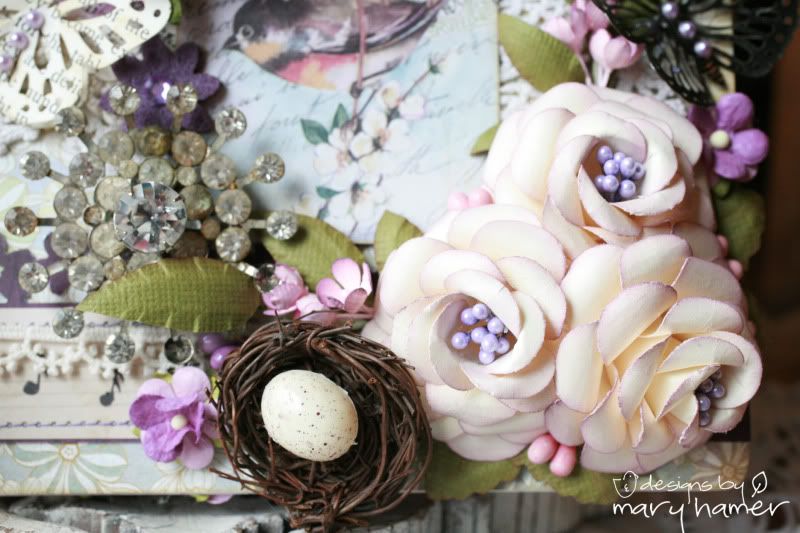
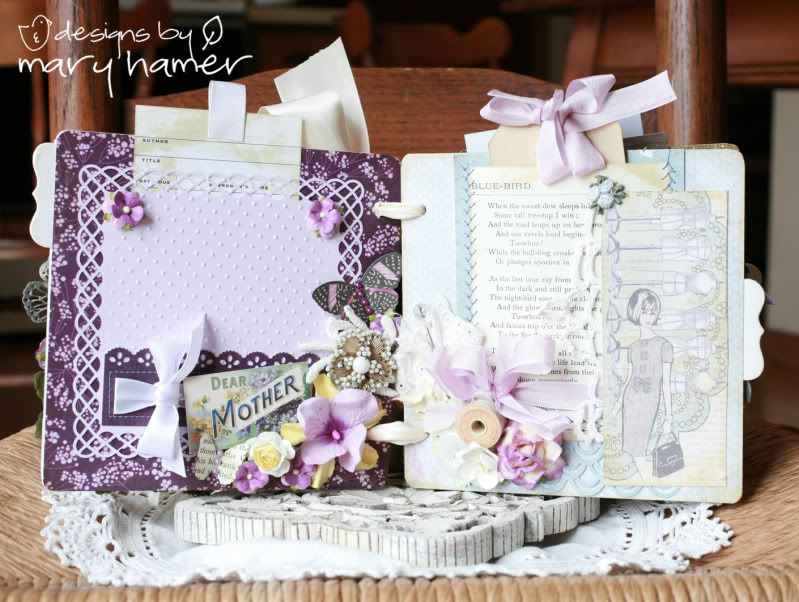
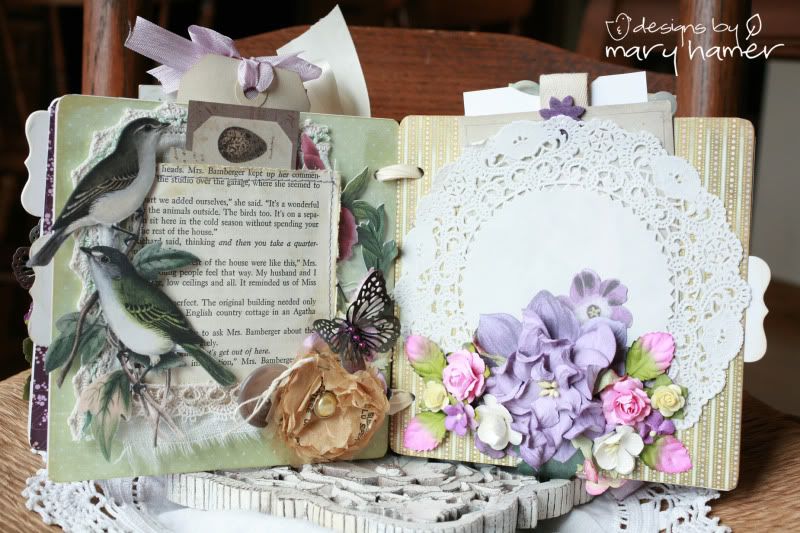
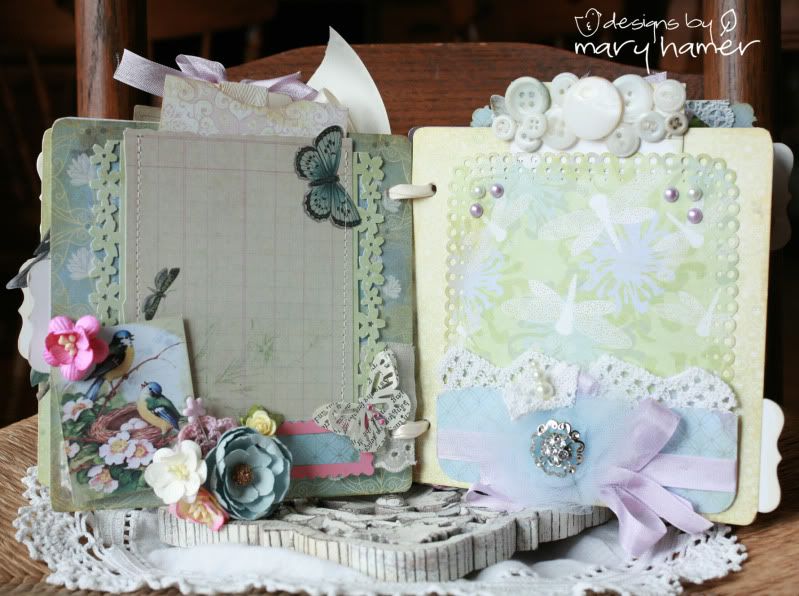
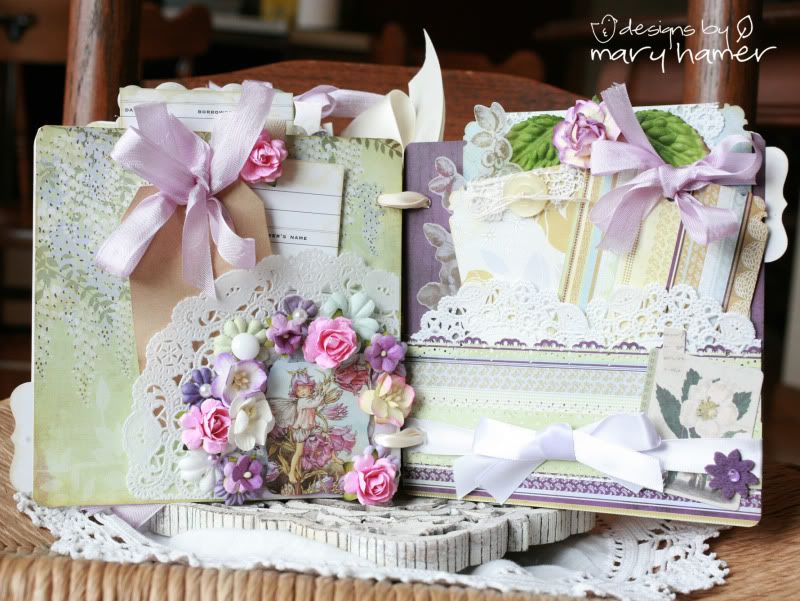
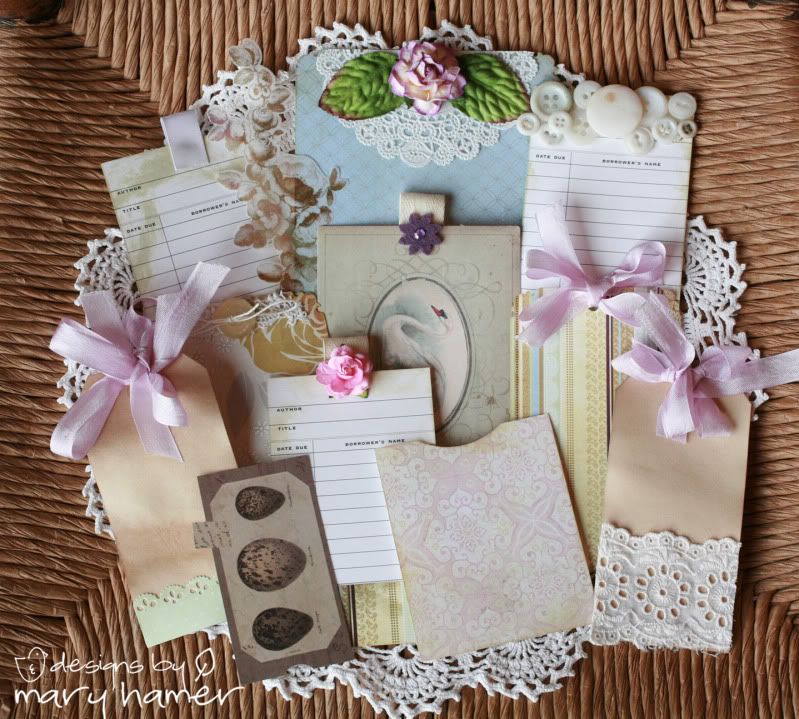
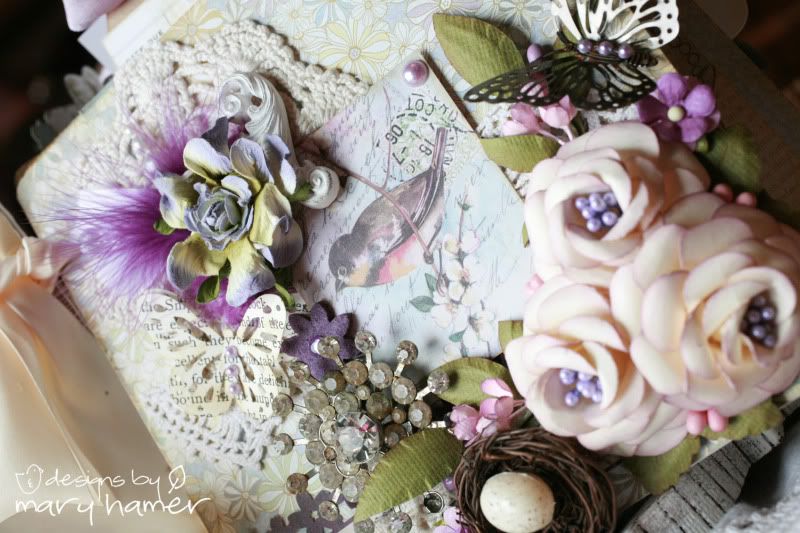
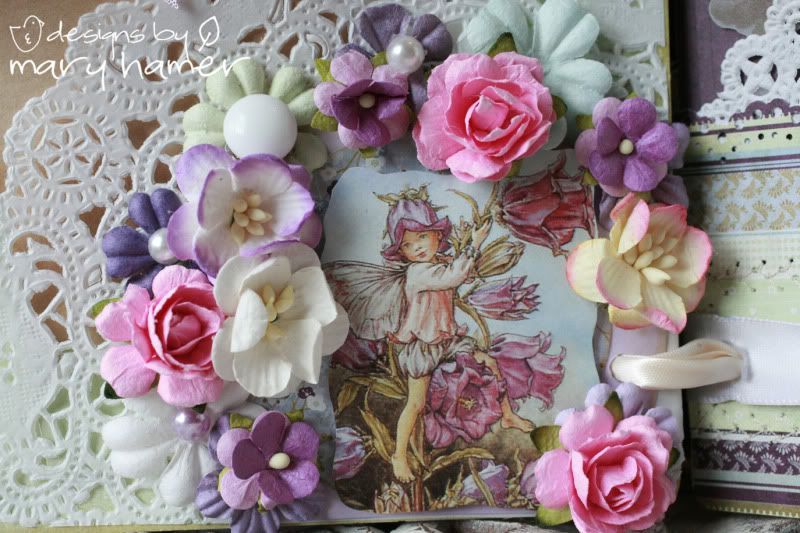
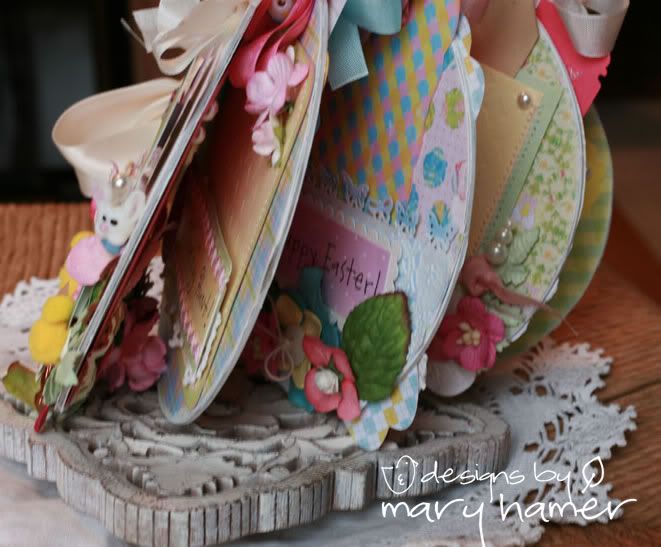
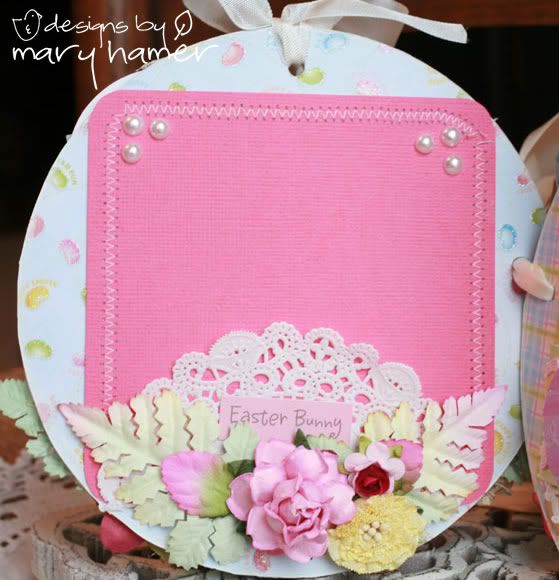
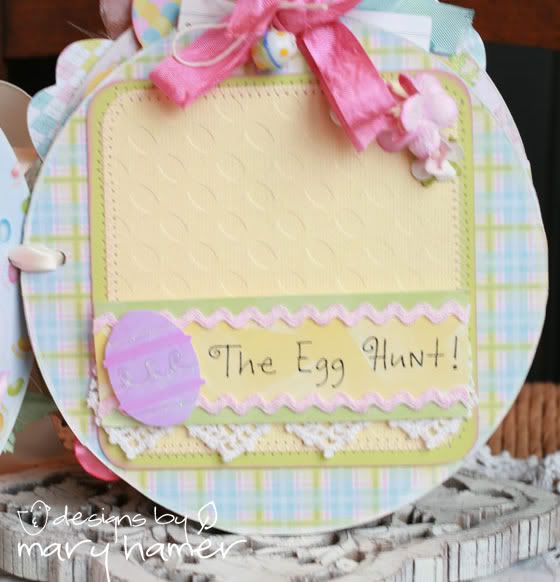
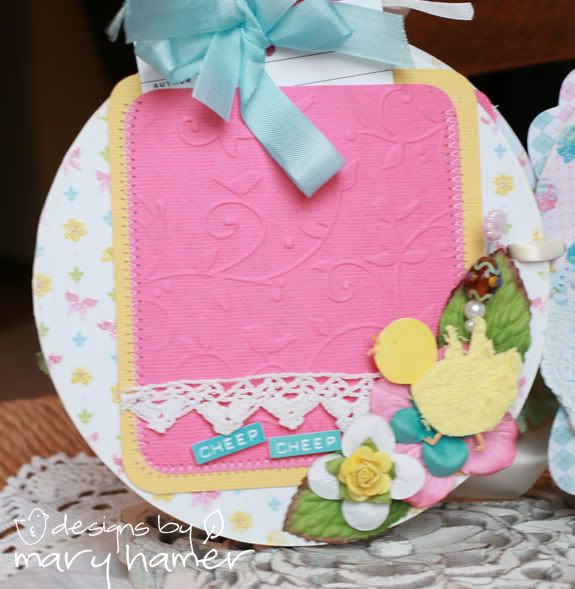
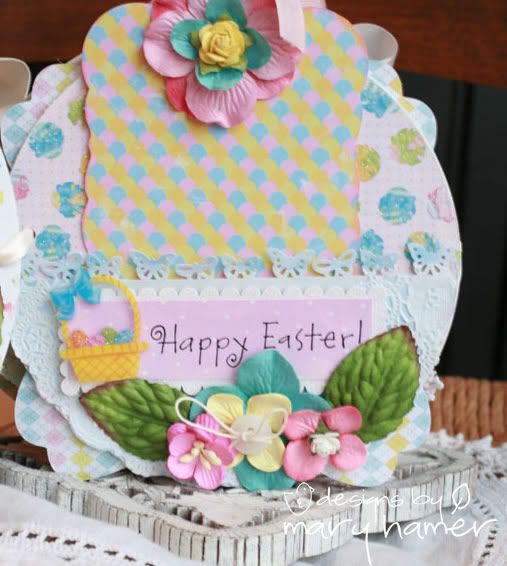
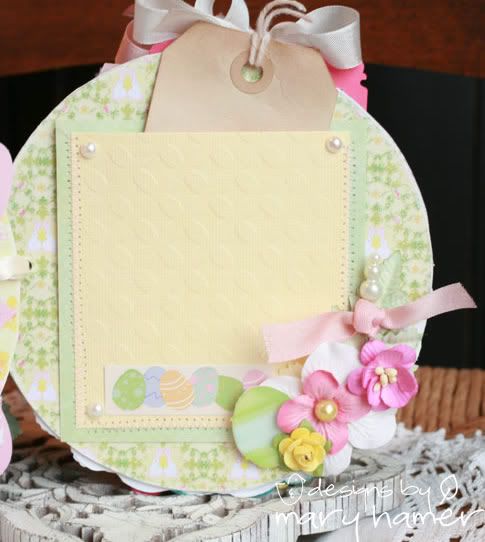
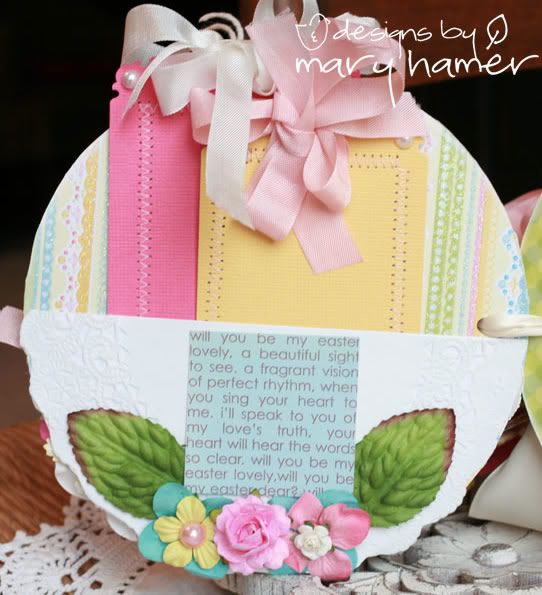
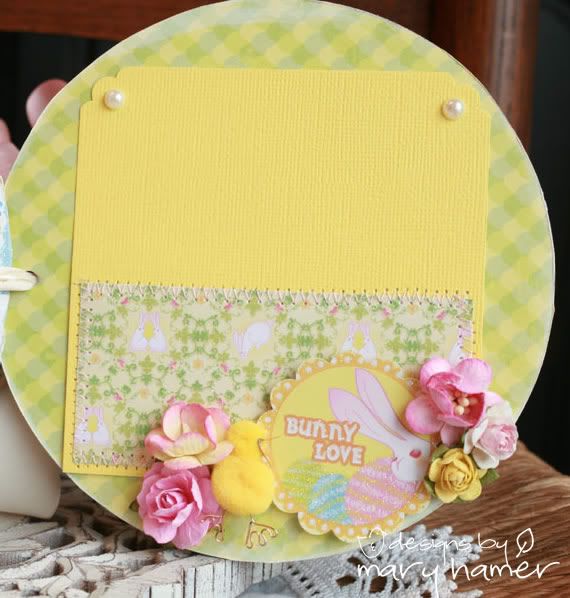
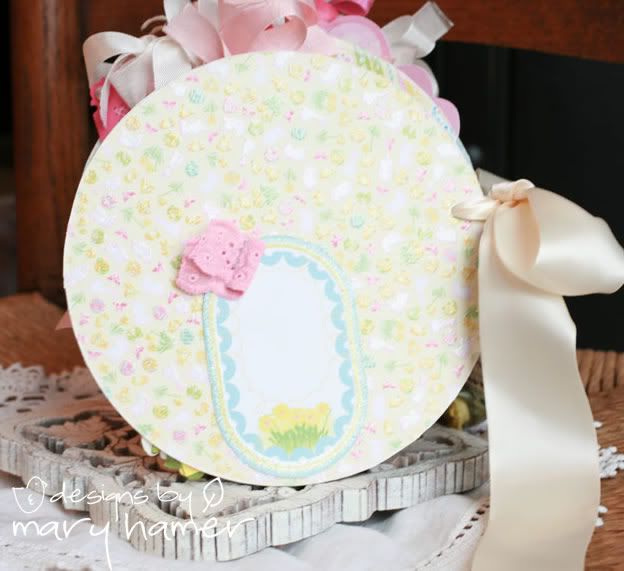
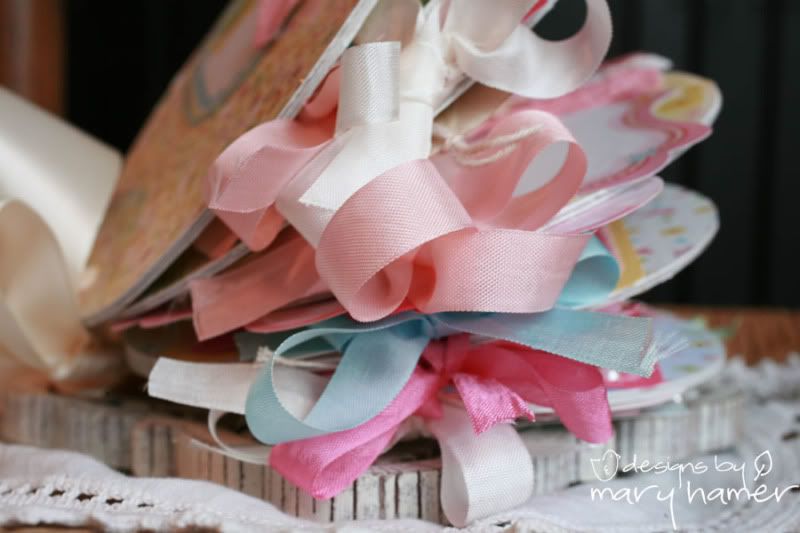
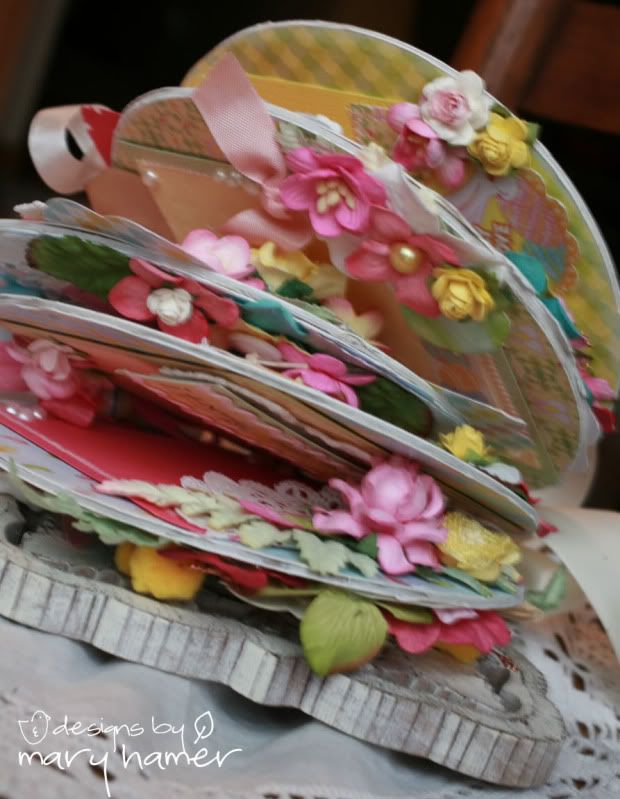
If you don't already know, The Working Artist Group (TWAG) is a group of fun ladies who create beautiful pieces of scrapbook art and sell their works on eBay. We love what we do - creating pieces to house your wonderful memories. Here are some of the current listings.

We hope you will join us for the five day hop starting this Friday!

And now for a little yummy to add to your recipe collection:

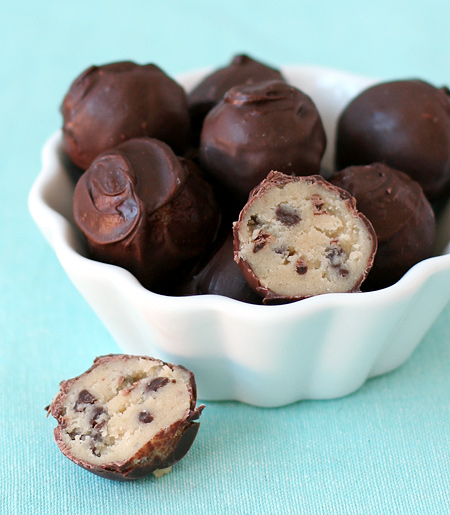
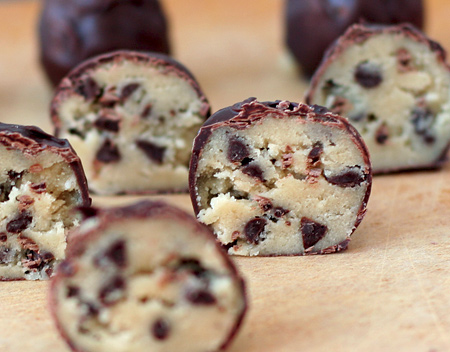
Chocolate Chip Cookie Dough Truffles

Yield: 3-4 dozen

Prep Time: 1 hour

Total Time: 2 1/2 hours

Ingredients:

2 1/2 cups all purpose flour
1 teaspoon salt
1/4 teaspoon baking soda
1 cup (2 sticks) butter or margarine, room temperature
3/4 cup granulated sugar
3/4 cup packed brown sugar
1 teaspoon vanilla
1/3 cup milk or soy milk
1 cup mini semi-sweet chocolate chips

14 oz dark chocolate candy coating

Directions:

Beat butter and sugars and in large bowl with electric mixer on medium speed until light and fluffy. Add milk and vanilla. Stir in flour, baking soda and salt and mix on low speed (or by hand) until incorporated. Stir in chocolate chips.

Cover and chill dough for 1 hour.

When dough is firm enough to handle (it may help to lightly flour your hands), form dough into 1" balls and arrange on a baking sheet lined with waxed paper. Place sheets in freezer and let chill for 30 minutes.

Melt chocolate candy coating in a double boiler or in microwave according to package directions. Using forks or a dipping tool, dip cookie balls into candy coating to cover. Tap fork on side of pan to remove any excess coating, and return to waxed paper-lined baking sheets. Chill until set. Store, chilled, in an airtight container for up to 1 week (though good luck making them last that long).


via love&oliveoil

Delish!!
xoxo


Monday, April 25, 2011

Crafty Secrets Design Team Challenge (Paper Piecing)


Hello my sweet friends!

I hope you had a relaxing Easter weekend with family and loved ones. It was a lovely weekend in the midwest. Chilly - but the sun was shining and the birds were singing. Just one more month until I get my much needed summer break. Even though our little school library is open in the summer once each week, it will still be nice to have some time to travel and work in my lil' studio without a care in the world.


This will be my last challenge with Crafty Secrets. I am so grateful to have been part of such a wonderful group of talented ladies. A big thank you to Sandy for this opportunity to show my passion through a beautiful array of vintage scraps, stamps, and goodies.


For this challenge, I decided to make a card - fit for a prince! Since our challenge was "paper piecing", I thought this little cutie would be the perfect stamp to show off what you can do by stamping and layering papers instead of coloring. The papers add depth and dimension which bring this little man and his puppy to life. This technique is perfect for using those teeny tiny scraps of paper that you can't seem to part with....I am a true paper hoarder - lol!


Boy:
1. First, you need to stamp your image on your bottom layer. In my case, I used a creamy blush cardstock which I then colored and shaded with flesh tone copics on all the exposed skin areas. This is your base cut or foundation that you will attach the rest of the pieces.
2. Ink head of stamp and stamp on pale yellow cardstock....or hair color of your choice. Cut out and adhere on base cut.
3. Stamp shirt on patterned paper. Cut and adhere to base.
4. Stamp overalls on pale blue (or even jean fabric!), cut and attach to base.
5. Stamp shirt again on white cardstock. Then cut the collar and cuffs. Attach to patterned shirt.
6. Color socks with copics or colored pencils.
7. Stamp and cut shoes from brown cardstock. Adhere to base.
8. Stamp and cut pocket out of coordinating patterned paper.
9. Add shading with copics/colored pencils. I inked edges of certain pieces with a soft coffee chalk ink to give shadow.


Puppy:
1. Stamp puppy on the color you would like him mainly to be. In this case, I used a light beige.
2. Stamp puppy on dark brown and cut out ears, spots, etc.
3. Stamp the puppy's neck on the color cardstock you would like the collar to be ( I used the pale blue of the overalls). Cut and adhere.
4. For texture, I used a nut brown flower soft. It made this little puppy soft and fuzzy!


Supplies:
Stamps: Crafty Secrets Little Boy
Paper: Melissa Frances and Making Memories (plus assorted scraps for paper piecing)
Pin: Maya Road
Vintage: ribbon, lace, button, string, book paper, flower applique
Punch: Marvy & Martha Stewart
Other: paper doily, colored pencils, co

Thank you so much for stopping by! Please take a moment to see what the rest of the Design Team created!

xoxo


Vicki Chrisman Team Leader

Pam Hooten

Heidi Blankenship

Linda Duke

Michele Kovack

Flo Teixeira from France

Melissa Phillips

Julie Campbell

Mary Hamer

April Guest Designer: Sophie La Fontaine
(you can see Sopies work on the Heartwarming Vintage Blog)

Heartwarming Vintage Blog

Crafty Secrets Website


Sunday, April 17, 2011

pretty purple mini


Happy Sunday my friends!

I finally finished my pretty little purple mini to share with you! For this design, I used Basic Grey's "Wisteria" paper line for all the patterned paper - you can see I've been hoarding this pad for a while now! This is my first little project as a Design Team member for More Paper Than Shoes (MPTS) and I just LOVE Anna's flowers! I used a flower spray complete with three large purple blooms, mini coordinating flowers and gorgeous crisp leaves. Each flower (even the tiny ones) have gorgeous purple pollen centers. This spray made my cover a cinch to put together! You can see what Anna has for sale here at her Etsy shop.


This mini is ten total pages (including front & back covers) and filled with goodies! I made 8 pocket areas tucked with photo mats and journaling tags - 11 in all. I used a lot of vintage ephemera - especially silver and rhinestones! For graphics, I tucked a few Crafty Secrets scraps throughout the album. Scraps are from Birds & Blossoms and Sew Nice. I really liked the silver against the purples and blues. Thick satin ribbon binds all the lovelies together. Another chunky monkey - it stands all by itself - no problem!


This album goes on sale tonight on eBay. You can see the full listing here with many more pictures.

I am hoping to have another post before the weekend (gosh I've been slow!) But just in case, here are some yummies for your tummies to drool over before Easter. I know mine will!


Thanks again for stopping by!

xoxo


Cadbury Creme Cupcakes Source: flickr.com via Mary on Pinterest


Tuesday, April 12, 2011

a new addiction

bettybroccoli:  (via Frutti di bosco gelato)
(via Frutti di bosco gelato)

I have a new addiction! Pinterest and Tumblr! What a place for inspiration! You can spend hours getting lost in a colorful array of beautiful pictures - trust me I know. When I am in a creative mood, nine times out of ten I was inspired by a picture. Whether in nature, on the web, or in my mind, I am always visualizing new things. For my next mini album, I decided to go purple and these pictures are just the thing to get you me in the mood! Even the cute little bunnies!

To explore this new visual world, I made a new blog for pictures that inspire me here. I also added a "photo inspiration" tab to the top of this blog to capture many pictures sure to inspire you! I always try to give credit where credit is due (it is always nice to mention where you get your ideas/inspiration....plus it makes the creator feel all warm and fuzzy...tee hee!)

I invite you to try it - but beware....you might just get hooked!

xoxo

Friday, April 8, 2011

hoppy easter mini


Oh spring....you finally are here! I was beginning to have my doubts but you pulled through in the end. To celebrate, I finished this little Easter chipboard album. This one is a little different than my norms - a little more cutesy and a little less vintagey. All in all I was happy with it's bright colors and funky little embellishments. You can see it on eBay HERE.


For this design, I used Creative Imaginations "Bunny Love" and stickers from Me and My Big Ideas and Hobby Lobby. Looking back, I wish I had more pockets and pullout goodies - but I guess I was on a roll and totally forgot about making a spot for them.

As for the pictures, I have NO idea what happened. Holy blurry and just ick. I need to just retake the them and be done with it - maybe this weekend. My apologies!

I will be back to my normal shabbiness for my next mini - a gorgeous variety of purples and greens with so many fun vintage embellies - AND some of Anna's beautiful handmade flowers to boot! Yippee skippy!

Hope you are having some wonderful weather in your neck of the woods. Thanks for stopping by!


xoxo

Thursday, April 7, 2011

springing back into action


Spring break has come and gone. My husband and I had a nice break from the hustle and bustle and took a little vacation east last week. Even though the weather wasn't what we hoped, it was still fabulous! And much warmer than Illinois! During our time in Florida, we visited the Wizarding World of Harry Potter at Universal. Oh my gosh! We just LOVED it! The crowds were horrendous, but walking on the streets of Hogsmeade drinking butter beer was priceless. Since we are huge Potter fans, we made sure we explored every nook and cranny of this fantasy world and had a blast! Here are a few pictures to wet your palette and stay tuned tomorrow of a new Easter mini album to get you inspired for the upcoming holiday!